

"Textures" Gallery Posted
A new gallery of photographs featuring textures has been posted.
"Tritone Roadster"
Textures can add an extra element of interest to a photograph, if used with care. A gallery of eleven photographs utilizing textures can be found by clicking here.

Century in the Making: Devil's Den Photographs
Family photographs are important keepsakes. Here's a hundred year effort.
Curvin and Cora Smith (back row) and friends at Devil's Den, Gettysburg, Pennsylvania
This is an updated version of posts first shared in 2012 and 2013. I hope you enjoy this family history quest.
July of 1863 saw heavy fighting and death in Pennsylvania's small town of Gettysburg, and the Devil's Den and Little Round Top areas of the Gettysburg National Military Park were attracting visitors 50 years later when my grandparents, Cora and Curvin, had their photograph taken (seated in the back row) along with friends by a professional photographer from York. The photo was taken in July, four months before their wedding.
The photograph was always a favorite family treasure for me, and I always intended to get a similar photograph from the same vantage point. Living less than 30 minutes away, I visited often but always failed to remember to bring along the family photo for reference. Early on a February 2012 morning, I headed out to get the shot, and I was quite pleased to spend 40 minutes alone in the Devil's Den and Little Round Top area.
Lining up the 1913 photograph with the current site...
Little had changed, except for the loss of some trees in the background.
Devil's Den , 2012
The following year, having reached the century mark for the original photograph, I journeyed out again with my daughters and granddaughter, once again recreating the original, but this time with new family members.
At the 100 year anniversary of the original, current family members visit the original location.
It's quite unusual to find oneself in these spots without tourists and history buffs, and the calmness of the morning made it a peaceful one and perfect for photographing a few extra shots.
My photography interests usually do not lend themselves to making major alterations to the content of images, although the serenity of the day made me think of what the location might have been like for the local residents and the first soldiers to arrive. I removed the tourist path, road signs and the street from the area as I imagined the original view, shown below.
"Before War" - battlefield site as imagined before the historic battle
Before the war, at the fiftieth anniversary, and yet again a century later, Devil's Den is an imposing site. Perhaps relatives will visit yet again one hundred years from now to see similar imagery.
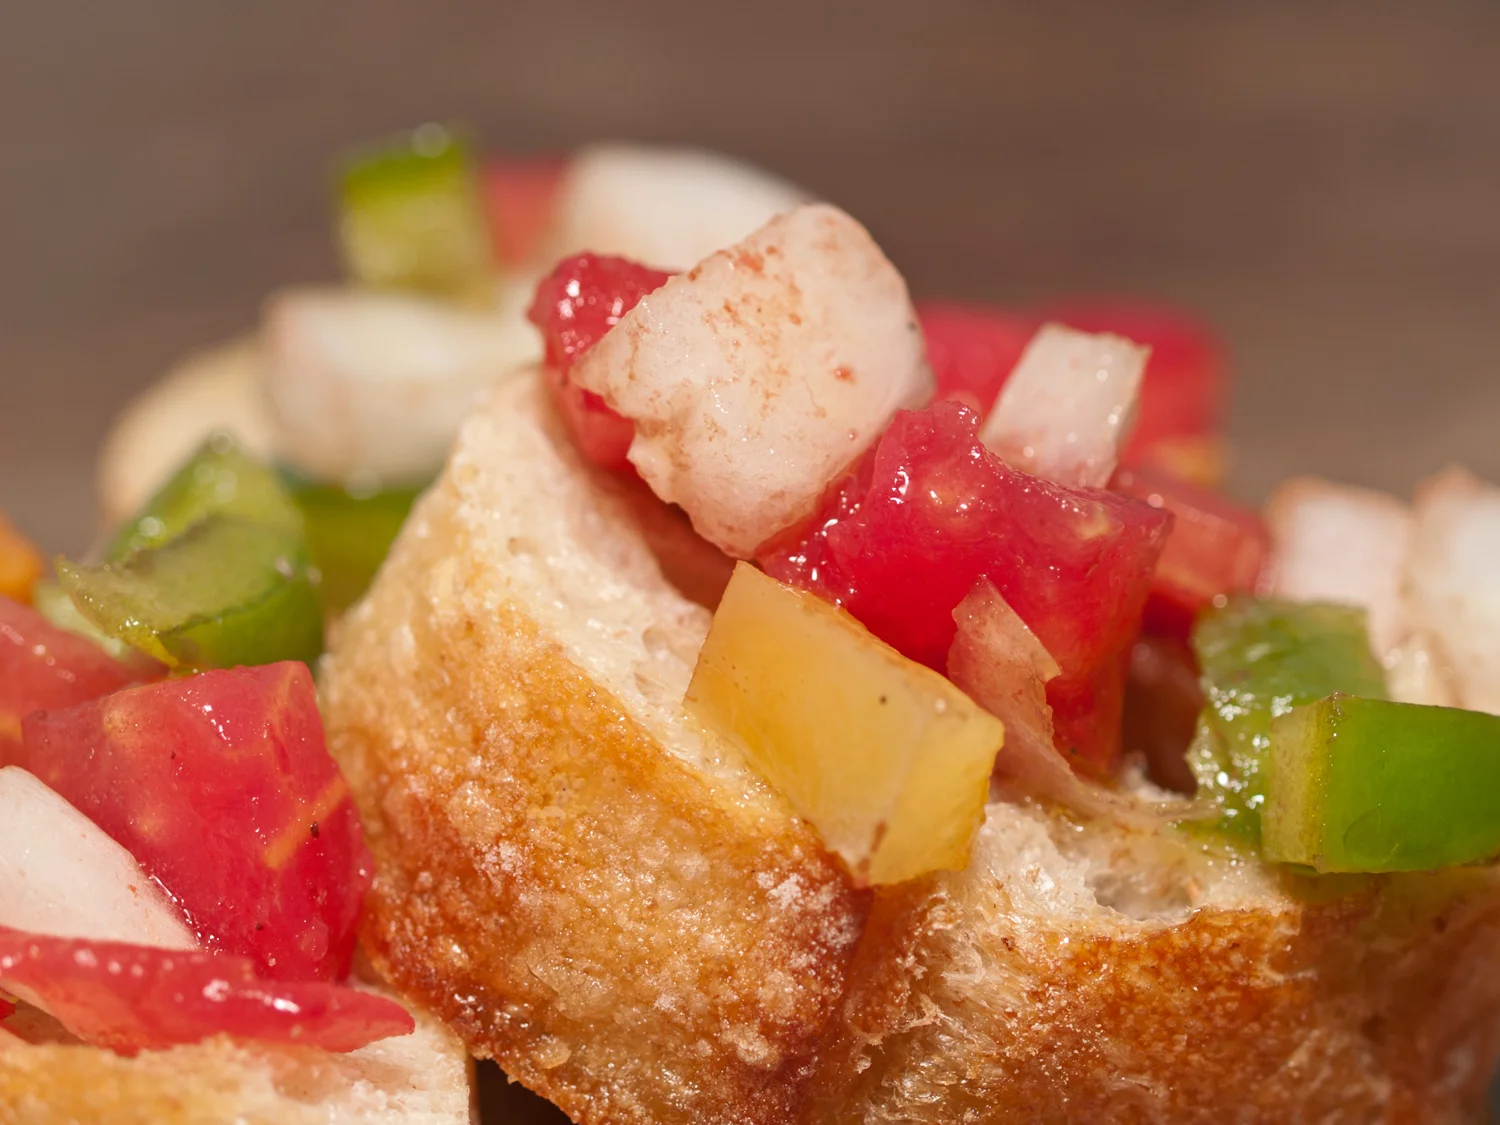
Bruschetta
Bruschetta! Grab a recipe for this summertime treat.
Bruschetta? Salsa? Always a tough decision when I come away from the farmers' market with fresh tomatoes, peppers and onions. Our family loves them both, and they are very similar in flavor. In some cases, the decision is based upon the availability of a great bread.
Whenever possible, I like to use a mix of tomatoes for both salsa and bruschetta. Not only will the variety of colors be appetizing, but each tomato will have a unique taste and texture which makes the end result more interesting.
After an "x" cut in one or both ends of the tomatoes, they are quickly parboiled and cooled to be able to remove the peels. The tomatoes are cleaned and diced along with the peppers, garlic and onion. (Use the peppers that grab your attention at the market and adjust for your own heat taste.) Olive oil and balsamic vinegar are added, as well as salt and pepper.
Slice your bread into appropriately-sized wedges. While baguettes make this an easy step, it's not difficult to cut other shapes; the last time I made bruschetta I used a sourdough loaf that woked wonderfully. Olive oil is added to one side of the bread wedges and toasted for several minutes in the oven. Serve on the warm toast or place the bread in a plastic bag after cooling if serving at a later time.
Our favorite recipe is adapted from the Simply Recipes web site. My version is available to download by clicking here.

Grilled Salsa
Homemade salsa can't be beat... unless you grill some of the vegetables first.
Fresh summer vegetables from Pennsylvania's Adams County, and I'm sure your area, make some specific recipes jump to our minds. For our family, one of our favorite summer treats is a fresh, homemade salsa. There are as many recipes for salsa as there are people making it, and my version seems to change every time I make it.
That variety is a positive thing; I use my recipe as a road map. Start with a basic plan, but pick the best looking, freshest ingredients and adapt the map to fit the produce. The downloadable recipe below can be a starting point. Use what you pick up at your local market. (My ingredients were from the always wonderful Adams County Farm Fresh Markets in Gettysburg, Pennsylvania.)
While raw veggies in a salsa are great as is, grilling some can add some depth to the texture, color and taste. I tend to use both grilled and raw ingredients, and will even use both versions of the same ingredient. (Particularly the tomatoes; grill some and leave others raw. In this batch, the larger tomatoes are grilled while the small ones were raw.) After prepping the vegetables, the ones to be grilled are placed on the grill rack and pulled off as each reached the perfect stage. The attached recipe notes my suggestions, but adapt to your preference.
For the tomatoes, for example, I tend to pull them off when the skins begin to pull loose. At that stage, it's easy to remove them with your fingers or tongs.
After doing a rough chop of the grilled and raw vegetables, the salt, olive oil, vinegar and lime juice are added.
I've found the best flavor to be after chilling the salsa for a few hours, but certainly eaten with a day or two. If your family is like mine, you won't have any problems finishing this treat during the first sitting.
To download an easily-printed pdf file of the recipe, click here. Let me know what you think or note what you do in your salsa recipe below in the comment section.
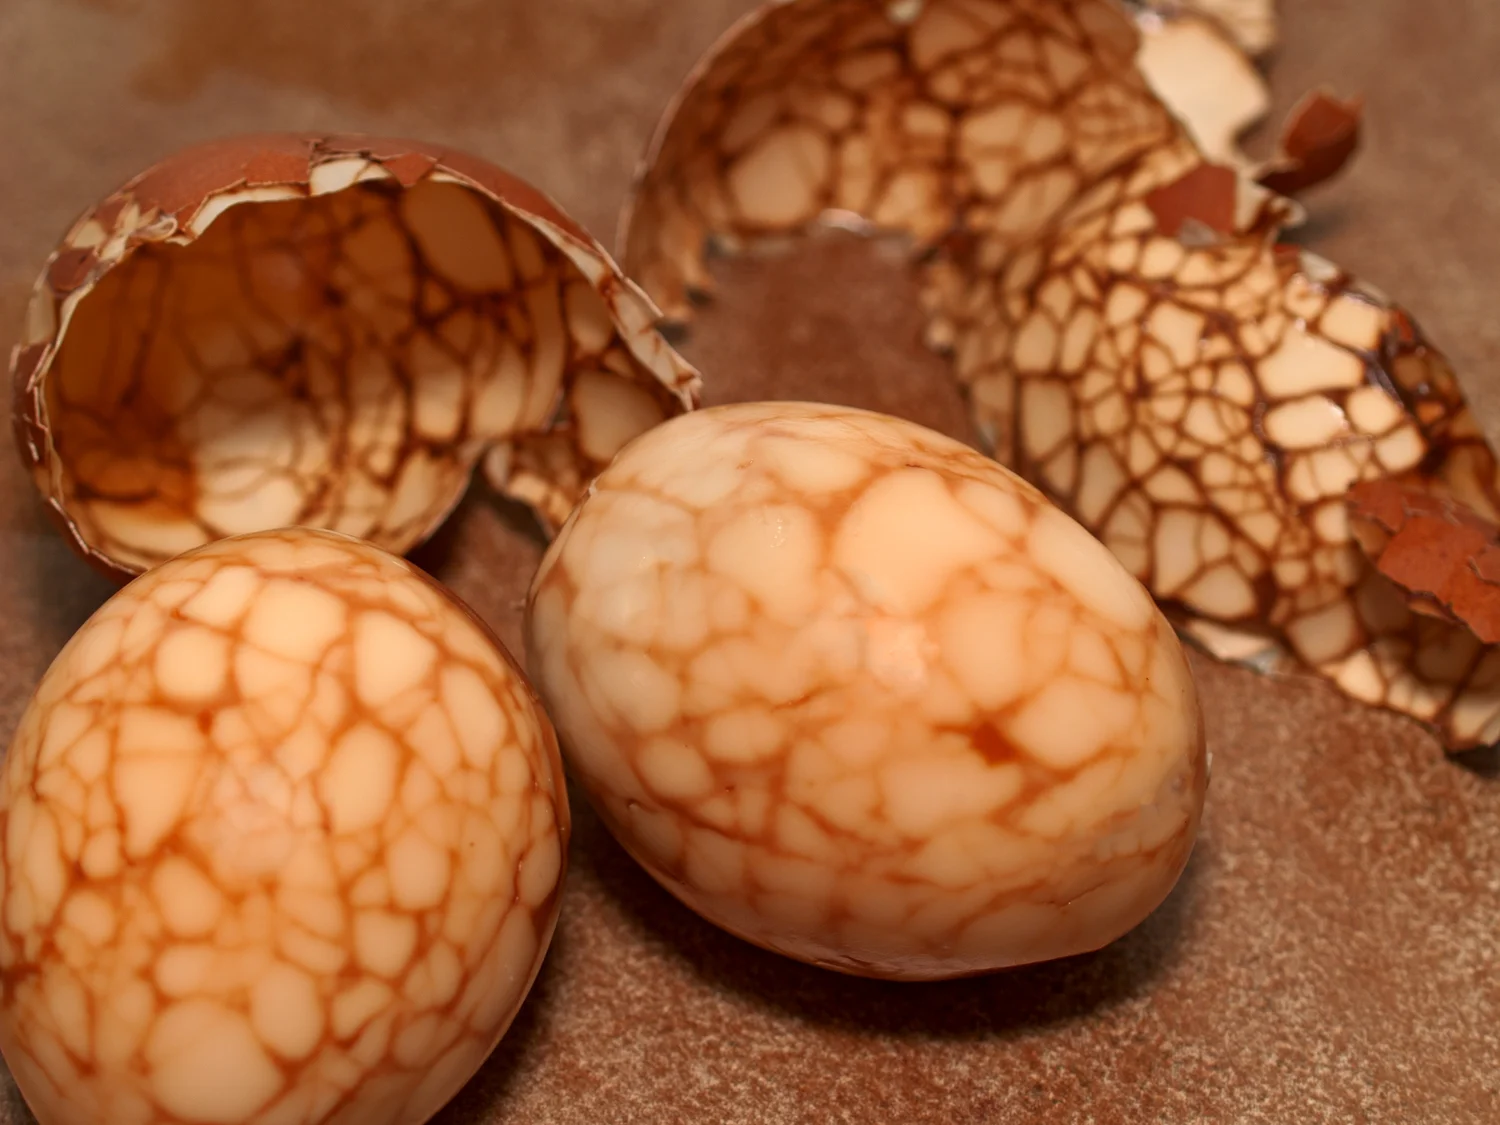
茶叶蛋 Chinese Tea Eggs
Art or snack?
Yes.
茶叶蛋 Chinese Tea Eggs
The visual appeal of any ingredient or food is obviously important in creating a hunger for it, but even after seeing a wonderful food photograph, I’ll read the ingredient list and recipe instructions before deciding if it is something I wish to try making for myself. Chinese tea eggs are an exception; their beautiful designs are intriguing and made experimenting with them something to look forward to.
These spiced treats are often household items in China, but are also sold by street vendors there, in addition to being popular in areas such as Hong Kong and Taiwan. While there are variations in the techniques of preparing tea eggs, they all essentially involve a combination of boiling and/or simmering shell-on eggs in a spiced mixture usually containing dark tea leaves and soy sauce. Anise, cinnamon and peppercorns are also commonly added.
To increase the intensity of both the coloring and flavor, the egg shells are cracked to allow the spice mixture to reach the edible part of the egg. These random cracks in the shell also create the visual texture when the eggs are opened to be eaten.
In the recipe I used from the Appetite for China web site, the simmering liquid used water, tea leaves, soy sauce, salt, sugar, star anise, cinnamon and black peppercorns. The smell throughout the house was a side benefit.
The resulting coloring was not only evident in the egg, but also created a snake skin-like appearance on the shells.

Beef Jerky
Wait... You don't have a jerky recipe? Better grab my recipe.
Don't worry too much about storage. You'll be eating this right away.
Beef jerky has always been a welcome treat, but taking one look at the ingredients list of commercial jerky quickly dulls the appetite. By using a high quality, local meat and a flavorful marinade, an excellent jerky can easily be made that will ensure you that the end result is something you'll look forward to.
The marinade discussed below and available via the download link is appropriate for one pound of meat. In the case of beef jerky, I pick up very thinly sliced steaks from a local, trusted butcher.
2 tsp Brown Sugar
1 tsp Salt
1 tsp Onion Powder
1 tsp Dry Mustard (Powder)
½ tsp Garlic Powder
⅜ tsp Cayenne Pepper
¼ tsp Black Pepper
¼ cup Wine, Cider, Etc.
¼ cup Soy Sauce
1 Tbsp Worcestershire Sauce
2 tsp Liquid Smoke
¼ tsp Tabasco Sauce, adjust as preferred
For ease in preparation, mix the dry ingredients in a one gallon ziplock bag.
Add the remaining liquid ingredients and mix well. Place the beef or other meat into the bag, being careful to separate any slices as much as possible. Marinade in the refrigerator 8-12 hours or longer, tumbling the bag occasionally to expose all areas of the meat.
Dehydrate for several hours, turning the beef slices every few hours to ensure drying on both sides. Store the jerky in the refrigerator to ensure safety.
Download a printable pdf file of the marinade recipe by clicking here.